Documentation of Preview Card Styler for MyListing

Table of Contents

Quick support

Need support? Contact us here!

This addon enables the user to design the MyListing preview cards using Elementor. This functionality is brought to you as a plugin. However, since the MyListing theme does not support this modification out-of-the-box, you have to copy one file to your My Listing Child theme. The following elementor functionalities are added:

Creating a preview card (step by step)

Installing the plugin

Download the zip file from the downloads page in your account.

Upload & install the yellowwave-mylisting-elementor.zip to your wordpress installation.

Activate the plugin, and you should see a notice popping up to set up the plugin. Run the setup wizard to finalize the plugin installation.

Congratulations! You are now ready to create your first preview card with Elementor.

Creating the first preview card

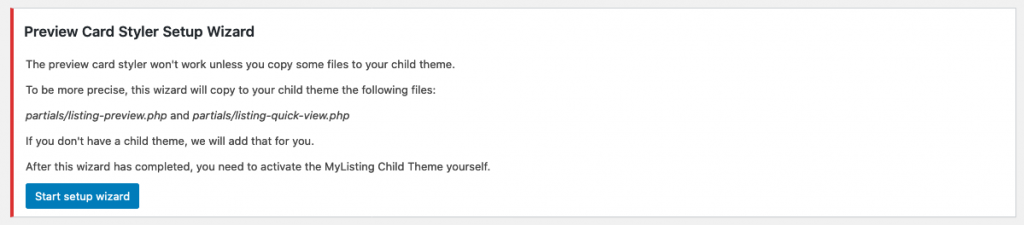
Now that you have installed the plugin and activated the child theme, go to Templates – Saved templates, click Add New.

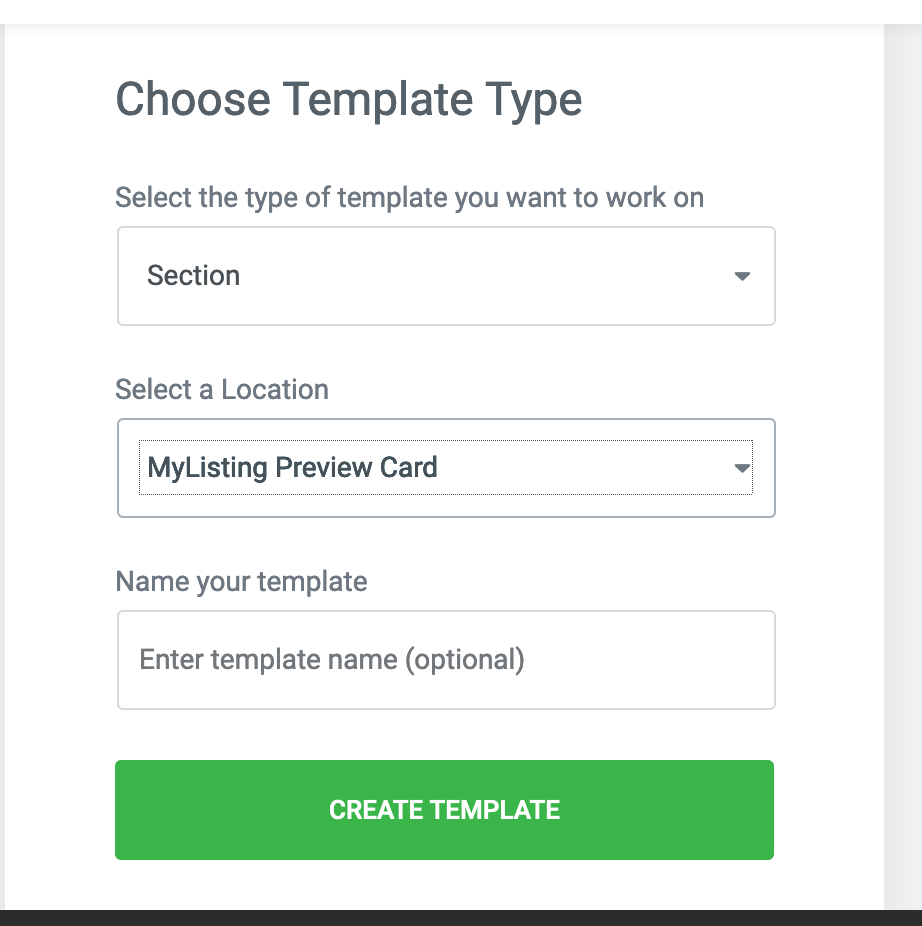
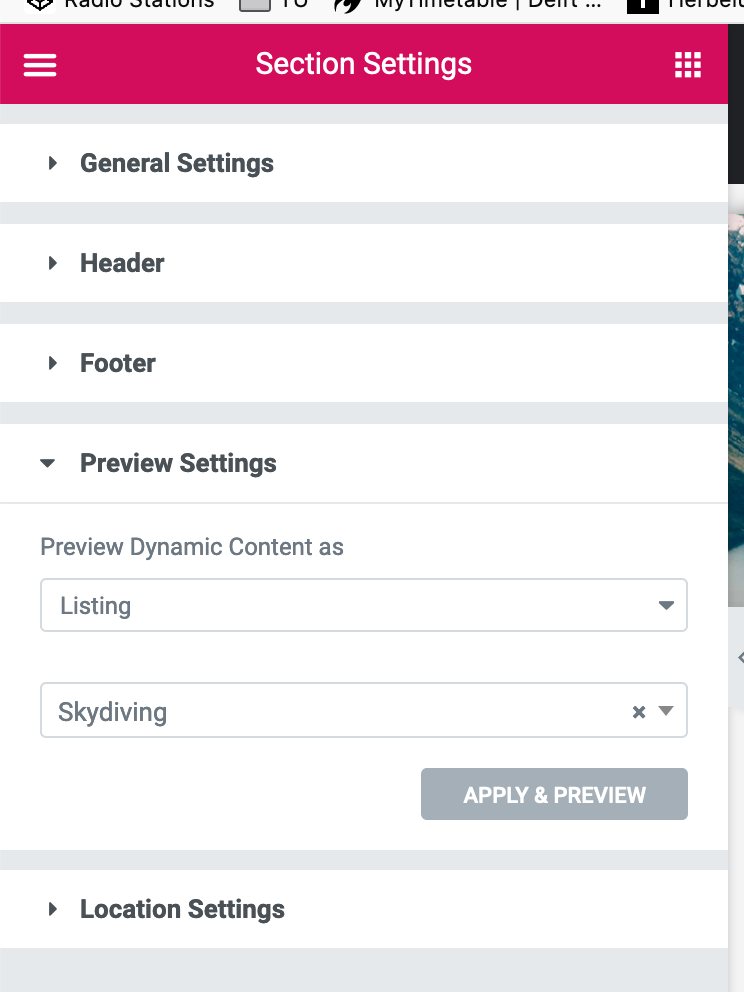
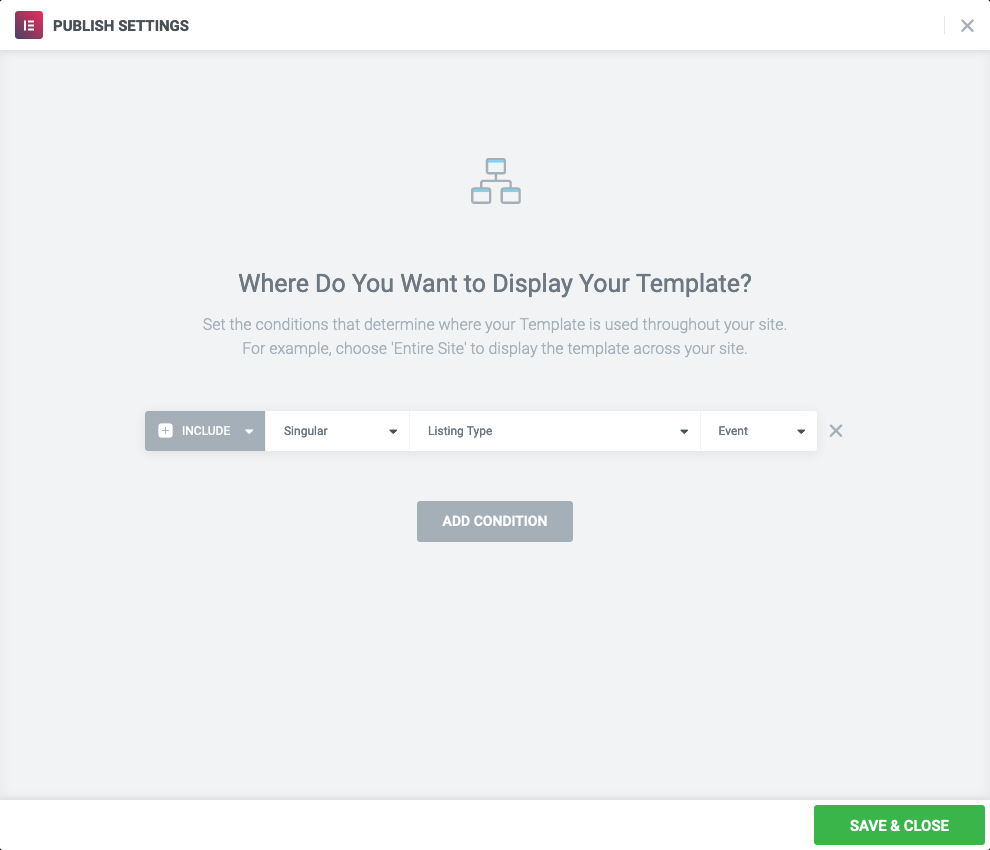
Select Section as the template type, and select MyListing Preview Card as the location.

Give the template any name you like, and click Create template!

Alternatively, you can click Import templates at the top of the page, and import the demo templates that you can find in the demo-import-files/ folder

Now get your Elementor skills out, and use the dynamic tags, button widget and display conditions to create your own My Listing Preview cards!

Dynamic tags

The display conditions can be used to specify which listing type(s) the design should be applied to.

Currently 3 tags are supported:

  • Custom field almost all MyListing fields can be used this way.
  • Image all image fields, like logo and cover image.
  • Rating the rating count, for use in an Elementor Star Rating widget.

Make custom fields visible

To make the MyListing fields visible, a few steps are needed.

  1. Open the preview card in the Elementor editor (you probably have it open already from the previous step)
  2. Click on the cog/settings icon in the bottom left corner.
  3. Under Preview settings, choose preview as listing.
  4. In the dropdown below, search for a listing that you want to use as preview item.
  5. Hit the green Elementor update button to save the page.
  6. Refresh your page in the browser.
  7. Now, if you select the dynamic tag – Regular field, you should see all fields available.

Widgets

A custom widget is added to add the MyListing buttons for quick preview and bookmark.

Conditions

You can use the conditions settings to determine where your listing card design should be visible.

To set the conditions correctly, choose Singular, Listing Type, and choose your listing type in the 3rd dropdown.